728x90
반응형

빈 게임 오브젝트(Player)를 생성하고 컴포넌트 추가

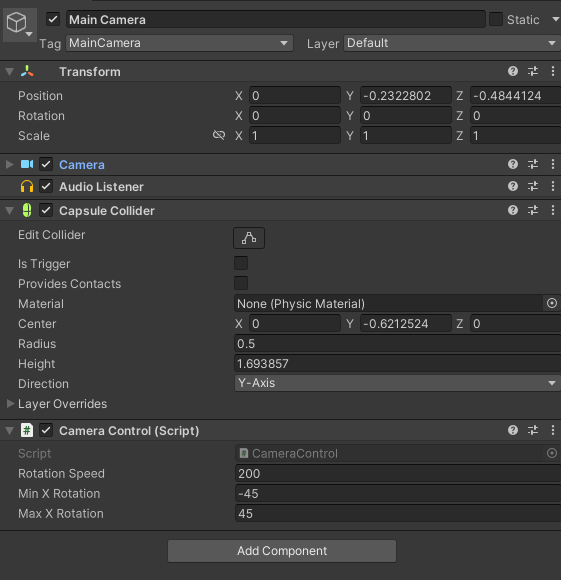
메인카메라를 Player 자식으로 이동

스크립트 (카메라에 추가)
using System.Collections;
using System.Collections.Generic;
using UnityEngine;

public class CameraControl : MonoBehaviour
{
    public float rotationSpeed = 200f;
    public float minXRotation = -45f;
    public float maxXRotation = 45f;

    private float currentXRotation = 0f;

    void Update()
    {
        // 회전 처리
        float mouseX = Input.GetAxis("Mouse X");
        float mouseY = Input.GetAxis("Mouse Y");

        float rotationX = -mouseY * rotationSpeed * Time.deltaTime;
        float rotationY = mouseX * rotationSpeed * Time.deltaTime;

        // x축 회전 제한
        currentXRotation += rotationX;
        currentXRotation = Mathf.Clamp(currentXRotation, minXRotation, maxXRotation);

        // 회전 적용
        transform.localRotation = Quaternion.Euler(currentXRotation, transform.localEulerAngles.y + rotationY, 0f);
    }
}
스크립트 (Player에 추가)
using System.Collections;
using System.Collections.Generic;
using UnityEngine;

public class PlayerControl : MonoBehaviour
{
    public float movementSpeed = 5f;
    private Transform cameraTransform;

    private void Start()
    {
        cameraTransform = Camera.main.transform; // 카메라의 Transform을 가져옴
    }

    private void Update()
    {
        // 이동 처리
        float horizontalInput = Input.GetAxis("Horizontal");
        float verticalInput = Input.GetAxis("Vertical");

        Vector3 cameraForward = cameraTransform.forward;
        Vector3 cameraRight = cameraTransform.right;

        cameraForward.y = 0; // y 축 회전은 고려하지 않음
        cameraRight.y = 0;

        Vector3 movement = (cameraForward.normalized * verticalInput + cameraRight.normalized * horizontalInput) * movementSpeed * Time.deltaTime;
        transform.Translate(movement);
    }
}
728x90
반응형
'C#' 카테고리의 다른 글
| [유니티] TMP 폰트 (0) | 2024.01.11 |
|---|---|
| [유니티] 오브젝트들을 거쳐가는 라인렌더러 생성 (0) | 2023.08.31 |
| [유니티] 코루틴을 이용한 라이트 밝기 조절 (0) | 2023.08.28 |
| 키보드 입력 테스트 프로그램 ( 키 입력 시각화 프로그램 ) (5) | 2020.01.28 |
| 키보드 입력 시각화 프로그램 ( 배포 ) (0) | 2020.01.10 |

